Shooting Instagram Reels alone is a solved problem once the setup stops depending on another person. The core method: lock the camera in one or two fixed positions, block your movements to marked spots on the floor, and record each shot as a separate take you assemble in the edit. A tripod, a phone, daylight or one continuous light, and a microphone if you speak on camera cover nearly every Reel format. The caveat: solo shooting trades a crew for preparation, so the work moves from the shoot to the plan.
What equipment does a solo creator actually need?
The honest minimum is short. A phone you already own, a tripod with a phone mount, and free light from a window during the first or last hours of the day will produce clean footage. From there, add only what removes a specific recurring problem: a small continuous light for winter and evening shoots, a clip-on or lav microphone if your Reels depend on spoken audio, and a spare battery or power bank so sessions do not end early.
What you do not need matters as much. Cinematic gimbal stabilizers, multiple cameras, and complex lighting rigs solve problems a locked-off tripod shot does not have. A fixed camera on a stable mount is the single most quality-for-cost decision in solo video, and it is also what makes one-person shooting possible: the camera holds the frame while you hold the performance.
How do you set up a one-person shot?
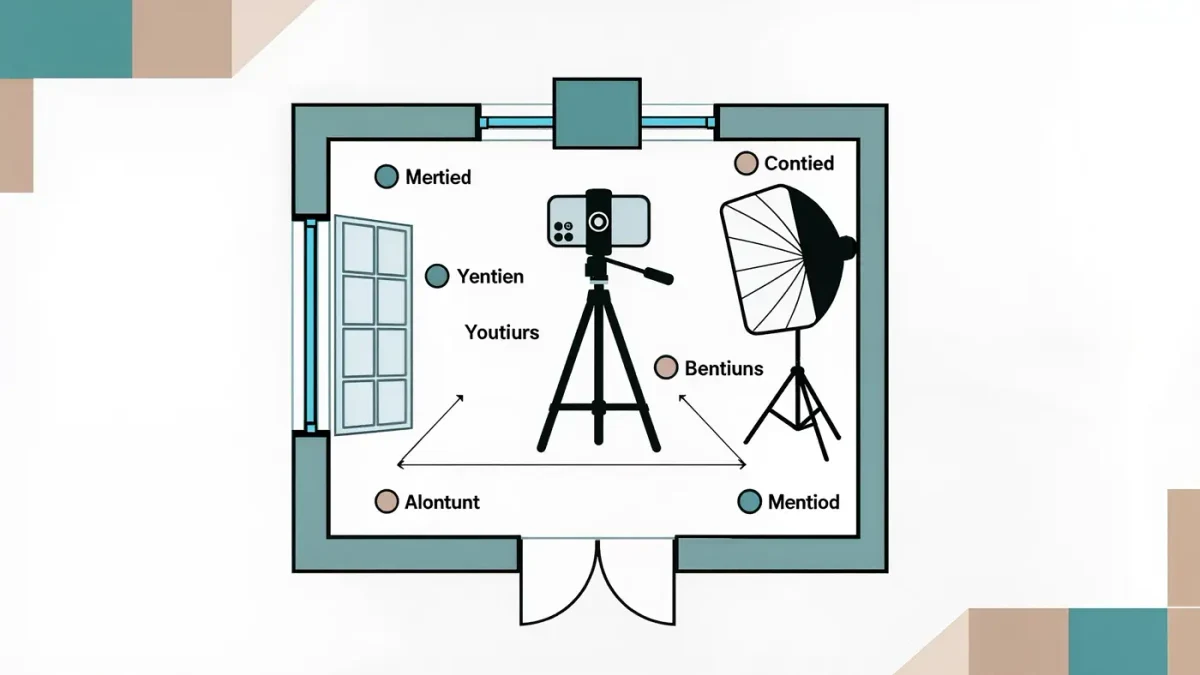
Solo setups are built around the fact that nobody is behind the camera. Every choice reduces what you must do while recording:
- Place the tripod at chest or eye height at the distance your framing needs, and lock the angle.
- Mark your standing position on the floor with tape so you return to the exact spot between takes.
- Set focus and exposure on the marked spot using your phone's lock features, so the frame does not hunt when you move.
- Run a ten-second test take and check it: framing, headroom, background, and audio levels.
- Record each shot three to five times in a row before changing the setup.
The test take is the step solo creators skip most and need most. Without a second pair of eyes, the only reviewer is the recording itself, and a ten-second check catches the messy shelf or the clipped audio while it is still cheap to fix.
How do you frame yourself without help?
Use the tools already in the camera. Grid lines keep horizons and background edges straight. The front camera shows your framing live while you position yourself, at some resolution cost you can avoid for final takes by recording on the rear camera with the test-take habit covering framing. For talking clips, place your eyeline just off the lens — at the top of the phone works — and keep gestures inside the marked frame rather than drifting toward its edges.
Give every static shot a little intentional breathing room: slightly wider framing than feels necessary in person reads as normal on a phone screen and forgives small movements toward the camera. Tight, edge-to-edge framing looks confident in a studio and punishing in a spare room.
How do you shoot B-roll and cutaways alone?
B-roll — the detail shots of hands, product, and process — is the easiest solo work because the subject does not perform. Mount the phone close to the action, frame loosely, and record each detail longer than feels necessary: ten to fifteen seconds per detail gives the edit room to cut on rhythm rather than on scarcity. Shoot the same detail from two angles when the setup change is minor; one tripod reposition doubles your options.
A useful solo habit is the coverage pass: after finishing the main shots, walk the space once and film every visually interesting surface related to the topic — tools, materials, textures, finished pieces. Five minutes of coverage routinely saves an edit that would otherwise stall on missing cutaways.
How do you handle audio when no one monitors it?
Unmonitored audio fails silently, so build the check into the routine. Record a short test with the final microphone placement, play it back through the same earbuds your viewers use, and listen for room echo, hum, and clipping. Hard surfaces cause echo; a rug, curtains, or recording closer to the microphone fix most of it. If you speak a lot on camera, a wired lav microphone clipped near the collar is the least expensive reliable upgrade in solo video.
Record a few seconds of room silence at the start of each session. That quiet clip makes noise cleanup in editing possible, and deleting it later costs nothing.
How do you stay natural on camera when you are also the crew?
Performing to a tripod is a skill, and it improves with a routine rather than charisma. Cue your energy with the first line: start each take with your opening sentence delivered at full speaking energy, even to an empty room, because takes that warm up slowly get cut at the same place every time. If a take falls apart mid-sentence, finish the sentence anyway, pause two seconds, and restart from the sentence start — clean pickup points make editing fast and painless.
Talk to a person, not the lens. Tape a small photo or a sticky note with a named viewer beside the camera and aim your words there; most solo creators sound measurably more conversational within a few sessions of this habit. And accept the ratio: even experienced solo shooters discard most takes. Recording five short takes of everything is not perfectionism; it is the normal raw material a one-person edit needs.
What workflow keeps a solo session efficient?
Work in setup batches, not story order. Shoot everything that shares one camera position, then move the tripod once and shoot the second position's material. Each reposition costs several minutes, and a session with two or three setups finishes in half the time of one that repositions per shot. Write the shot list as positions first, shots second:
| Setup | Shots captured | Notes |
|---|---|---|
| Wide, position A | Hook take, talking takes 1-5 | Taped mark, locked focus |
| Close, position B | Hands, process details | Loose framing, 10-15 s each |
| Coverage pass | Surfaces, tools, finished piece | Two angles where easy |
End every session the same way: review the takes immediately, mark unusable ones, and note anything to reshoot while the setup still exists. Discovering a broken take a week later, after the room has returned to its everyday state, is the most expensive kind of solo shooting mistake.